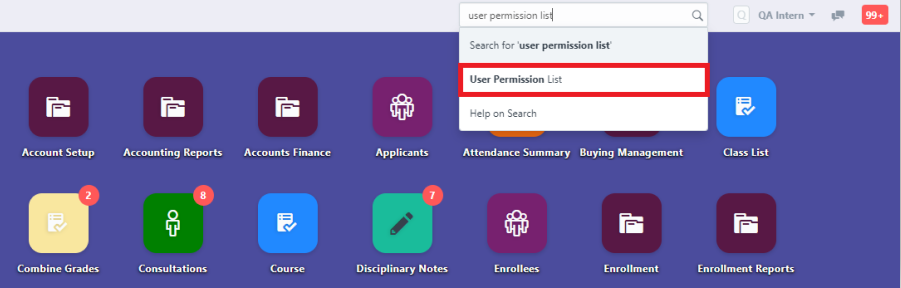
Step 1: Search on the search bar at the upper right corner "User Permission List" and click User Permission List.
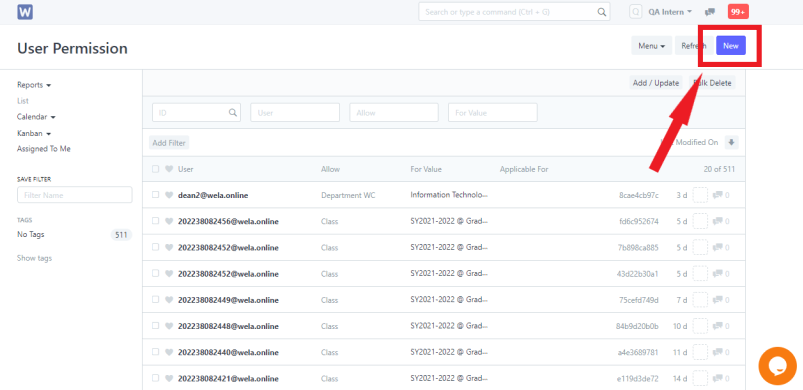
Step 2:User will be redirected to the User Permission List page, click New to create a new permission.
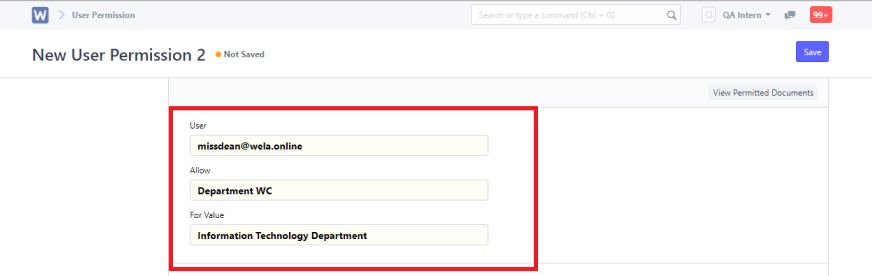
Step 3: After clicking New, Enter the user. In the Allow text field, type and select “Department WC” then select a department you want to give permission in the For Values field.
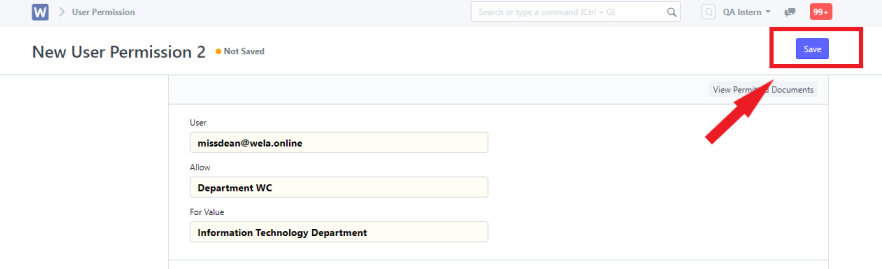
Step 4: Once done filling out the form with the necessary details, click Save.
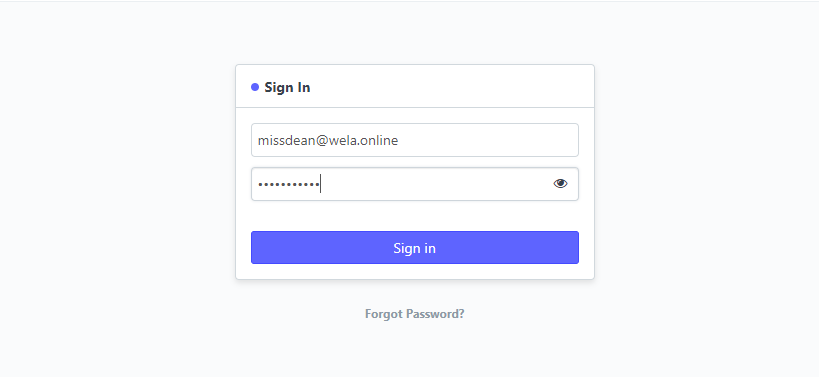
Step 5: Now log in using an account with Dean access.
Step 6: Open an Enrollment ledger and see if you can view the selected Department.
